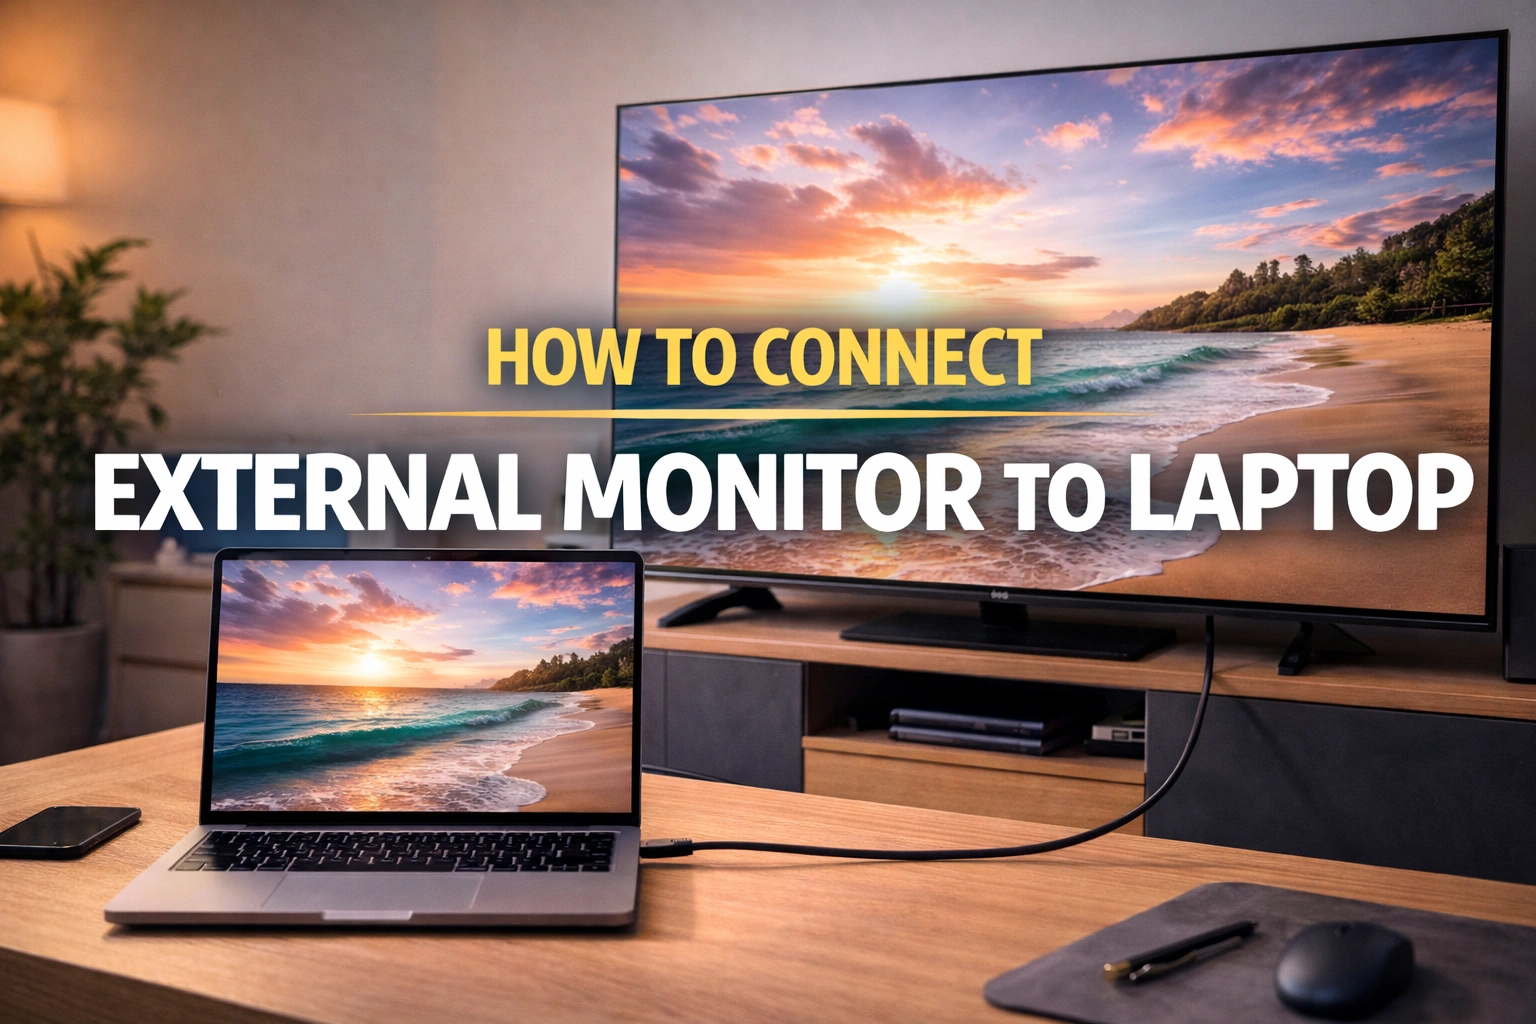
Adding an external monitor to your laptop transforms how you work. You get more screen space for multitasking, better visibility for detailed work, and a proper desk setup that reduces neck strain. Whether you’re coding, designing, gaming, or want a bigger display, connecting a monitor takes only minutes.
This guide covers every method for connecting your laptop to a monitor, including with cables, adapters, or wirelessly. We’ll walk through Windows 10 and Windows 11, and even help you connect a laptop with a broken screen to an external display.
Understanding Laptop to Monitor Connector Types
Before you start, check what ports your laptop and monitor have. The laptop to monitor connector you need depends on these ports.
HDMI remains the most common connection type. Most laptops made after 2010 include an HDMI port, and nearly all monitors accept HDMI input. HDMI carries both video and audio through a single cable.
USB-C ports are common on newer laptops, especially ultrabooks and MacBooks. If your USB-C port supports DisplayPort Alternate Mode or Thunderbolt, it can output video to monitors. You’ll need either a USB-C to HDMI adapter or a USB-C to DisplayPort cable.
DisplayPort offers higher refresh rates than HDMI, making it popular among gamers and programmers who need crisp text. Some laptops include mini-DisplayPort instead of full-size.
VGA is an older analog standard still found on some business laptops and older monitors. It only carries video, not audio.
Check both your laptop and monitor ports. If they don’t match, you’ll need an adapter. Common adapters include USB-C to HDMI, mini-DisplayPort to HDMI, and VGA to HDMI.
How to Connect External Monitor to Laptop with HDMI
- Turn off your laptop to prevent display detection issues
- Plug one end of the HDMI cable into your laptop’s HDMI port
- Connect the other end to your monitor’s HDMI input
- Turn on your monitor first
- Select the correct HDMI input using the monitor’s menu buttons
- Power on your laptop
- Wait for Windows to automatically detect the external monitor
If nothing appears on screen:
- Press Windows key + P on your keyboard
- Select “Extend” to use both screens independently
- Or select “Duplicate” to show the same content on both
The same basic process works for DisplayPort, USB-C, and other connections.
How to Connect External Monitor to Laptop Windows 11
Windows 11 handles external monitors smoothly. After connecting your cable:
- Right-click anywhere on your desktop
- Select “Display settings.”
- View all detected monitors as numbered rectangles
- Click “Detect” if your monitor doesn’t appear automatically
- Drag the monitor rectangles to match their physical desk position
- Scroll down to find “Multiple displays.”
- Choose your preferred setup from the dropdown:
- “Extend these displays” – independent screens
- “Duplicate these displays” – mirror your laptop screen
- “Show only on 2” – turns off laptop display entirely
- Click the monitor you want to configure
- Adjust resolution, scaling, and orientation as needed
- Click “Apply” to save changes
Quick shortcut: Press Windows + P at any time to switch between display configurations without opening settings.
How to Connect an External Monitor to a Laptop Windows 10
Windows 10 works similarly to Windows 11 with minor interface differences:
- Connect your monitor cable and turn on both devices
- Right-click the desktop
- Choose “Display settings.”
- View your connected monitors as numbered boxes
- Click “Detect” if your monitor isn’t showing
- Under “Multiple displays,” select your preferred mode:
- “Extend desktop to this display” – larger workspace across both screens
- “Duplicate desktop on 1 and 2” – identical content on both
- Click the monitor you want as primary
- Check “Make this my main display.”
- Click “Apply” to confirm
Quick shortcut: Use Windows + P to switch between display modes.
How to Connect Monitor to Laptop Shortcut
Keyboard shortcuts save time when managing external displays:
- Windows + P: Opens the Project panel instantly
- Use the arrow keys to select between options
- Press Enter to confirm your choice
- Windows + Shift + Left Arrow: Moves the active window to the left monitor
- Windows + Shift + Right Arrow: Moves the active window to the right monitor
- Windows + Home: Minimizes all windows except the active one
Function key combinations by brand:
- Dell: Fn + F4
- Lenovo: Fn + F7
- HP: Fn + F8
- ASUS: Fn + F8
- Acer: Fn + F5
Look for the key with a monitor icon on your keyboard for your specific model.
How to Connect External Monitor to Laptop Without an HDMI Port
Not every laptop includes HDMI. Here’s how to connect your monitor without it:
USB-C Connection
- Check if your laptop’s USB-C port supports video output
- Buy a USB-C to HDMI adapter or cable (AED 50-150)
- Plug the USB-C end into your laptop
- Connect the HDMI end to your monitor
- Follow standard display setup steps
For more versatility, use a USB-C docking station:
- Connect the docking station to the laptop via USB-C
- Plug the monitor into the dock’s HDMI or DisplayPort
- Dock adds multiple ports through a single connection
- Ideal for people who regularly connect/disconnect their laptops
VGA Connection
- Connect the VGA cable between the laptop’s VGA port and the monitor
- Note: VGA only carries video, not audio
- Connect separate speakers or a 3.5mm audio cable for sound
- If the monitor lacks a VGA input, use a VGA to HDMI converter
DisplayPort Connection
- Use a DisplayPort cable for a direct connection
- Or use a mini-DisplayPort adapter if the laptop has a smaller port
- DisplayPort supports up to 240Hz refresh rates
- Ideal for gaming monitors
How to Connect External Monitor to Laptop Wirelessly
Wireless connections eliminate cable clutter. You can connect your laptop to a TV or monitor wirelessly using built-in Windows features.
Using Miracast on Windows
- Ensure your TV or monitor supports Miracast
- Press Windows + K to open the Connect panel
- Wait for Windows to scan for wireless displays
- Select your TV or monitor from the list
- Follow on-screen prompts to complete the connection
- Choose display mode (Extend, Duplicate, etc.)
If your TV doesn’t appear:
- Check that the TV is in screen mirroring mode
- Look for settings labeled Miracast, Screen Mirroring, or Wireless Display
- Restart both devices and try again
Using a Wireless Display Adapter
- Plug the Miracast adapter into the monitor’s HDMI port
- Connect the adapter’s USB cable for power
- Press Windows + K on the laptop
- Select the adapter from the device list
- Follow pairing instructions
Note: Wireless connections have a slight lag, which is fine for presentations but not ideal for gaming.
How to Connect a Dell Laptop to a Monitor
Dell laptops support standard connection methods, but Dell also offers additional software tools. After connecting your cable, Dell Display Manager lets you arrange windows and create custom layouts across multiple screens.
Most Dell laptops include HDMI ports. Newer XPS models use USB-C or Thunderbolt instead. Check your specific model’s ports before buying cables.
For Dell docking stations, connect the docking station cable to your laptop. The dock automatically handles all monitor connections. Dell docks work best with Dell laptops, but generally support other brands too.
If your Dell laptop gets warm while driving an external monitor, ensure it is properly ventilated. Check our guide on how to stop laptop fan noise for tips on keeping your system cool during demanding tasks.
How to Connect External Monitor to Laptop in Ubuntu
- Connect your cable, and Ubuntu should recognize the display within seconds.
- To configure settings, click Activities in the top-left corner and search for “Displays.” The Display settings panel shows all connected monitors.
- Drag monitors to arrange their positions. Click a monitor to select it, then adjust resolution, refresh rate, and scaling. Choose “Join Displays” to extend your desktop, or “Mirror” to duplicate your screen.
If Ubuntu doesn’t detect your monitor, open a terminal and type “xrandr” to see all connected outputs. This command shows which ports Ubuntu recognizes and their current status.
For persistent detection issues, updating your graphics drivers often helps. Use the “Additional Drivers” tool in Ubuntu to install proprietary NVIDIA or AMD drivers if available for your hardware.
How to Connect External Monitor to Laptop with Broken Screen
- Turn off your laptop completely. Connect the monitor cable to your laptop and monitor. Turn on the monitor first, then power on your laptop.
Many laptops automatically detect and output to an external monitor when the internal display fails. If your external monitor stays blank, press Windows + P, then press the Down arrow key twice, then Enter. This selects “Second screen only” mode even though you can’t see the menu.
- Alternatively, press the function key combination for external displays. This varies by brand – common combinations include Fn + F4, Fn + F7, or Fn + F8. Look for a key with a monitor icon.
- If nothing works, try closing the laptop lid after booting. Some laptops switch to external output when the lid closes. You can change power settings later to keep the laptop running with the lid closed.
- For severely damaged laptops where even blind keyboard commands fail, consider connecting an external keyboard and mouse. Boot with the external monitor connected and use Tab, Enter, and arrow keys to navigate login screens without seeing them.
Troubleshooting External Monitor Connection Issues
Display detection issues frustrate many users. Here’s how to fix common problems.
1. Check Physical Connections First
Unplug the cable from both ends, then reconnect it firmly. Connectors sometimes feel secure but sit slightly loose. Try a different cable if available. Cables fail more often than you’d expect.
Ensure your monitor is set to the correct input source. Press the monitor’s menu button and manually select the input you’re using.
2. Update Graphics Drivers
Outdated drivers cause many detection problems. Open Device Manager, expand “Display adapters,” right-click your graphics card, and select “Update driver.” Choose “Search automatically for drivers.”
For better results, download drivers directly from your GPU manufacturer’s website, NVIDIA, AMD, or Intel, depending on your hardware.
3. Force Display Detection
Open Display Settings and click “Detect.” Windows scans for connected monitors and often finds displays that didn’t appear automatically.
Press Windows + P, then select “Extend” or “Duplicate,” even if no monitor shows. Sometimes this forces Windows to output a signal.
4. Resolution Compatibility Issues
Your laptop might send a resolution that the monitor can’t display. Try booting in Safe Mode, which uses a basic resolution. If the monitor works in Safe Mode, adjust resolution settings in normal Windows.
Lower the resolution temporarily to test if that’s the issue. Some older monitors struggle to display 4K signals even when the cable supports them.
Frequently Asked Questions
How do I get my laptop to recognize my external monitor?
Connect your cable securely and ensure the monitor is powered on with the correct input selected. Open Display Settings by right-clicking your desktop and selecting “Display settings.” Click the “Detect” button to force Windows to scan for connected displays.
How to manually connect a monitor to a laptop?
Turn off both devices before connecting. Plug your video cable (HDMI, USB-C, DisplayPort, or VGA) into your laptop’s video output port and your monitor’s input port. If ports don’t match, use an appropriate adapter. Power on your monitor first and select the correct input source using the monitor’s physical buttons. Turn on your laptop. Open Display Settings through right-clicking the desktop, then configure how you want to use both screens: extend, duplicate, or use only the external monitor.
Why won’t my laptop connect to a monitor via HDMI?
Several issues cause HDMI connection failures. First, check that the cable sits firmly in both ports, and reseat connections at both ends. Verify your monitor is set to the correct HDMI input using its menu buttons. Try a different HDMI cable, as they frequently fail. Update your graphics drivers through Device Manager or your GPU manufacturer’s website.
What cables connect a monitor to a laptop?
HDMI cables work with most laptops and monitors and carry both video and audio. USB-C cables connect modern laptops to monitors if your USB-C port supports video output (DisplayPort Alt Mode or Thunderbolt). DisplayPort cables offer high refresh rates for gaming monitors. VGA cables work with older equipment but carry only video without audio.
Why can’t my laptop detect my monitor?
Detection failures typically stem from physical connection issues, driver problems, or incorrect settings. Start by checking cable connections. Unplug and firmly reconnect both ends. Ensure the monitor is powered on and set to the correct input source. Update graphics drivers from your manufacturer’s website rather than relying on Windows Update. In Display Settings, click “Detect” to force Windows to scan for displays.
Get the Right Laptop for Your Setup
A proper laptop with an external monitor setup significantly boosts productivity. If your current laptop struggles with external displays, lacks the right ports, or runs too hot under dual-monitor workloads, consider upgrading.
Tech Point Zone stocks laptops from leading brands, including Dell, HP, ASUS, and Lenovo, all with modern connectivity options perfect for multi-monitor setups. Our business laptops come equipped with USB-C, HDMI, and Thunderbolt ports for seamless connections to external displays.
Visit our Bur Dubai showroom or browse online with free delivery across the UAE on orders above AED 1,000. WhatsApp us at +971 525696022 for recommendations on laptops that work perfectly with your existing monitors.