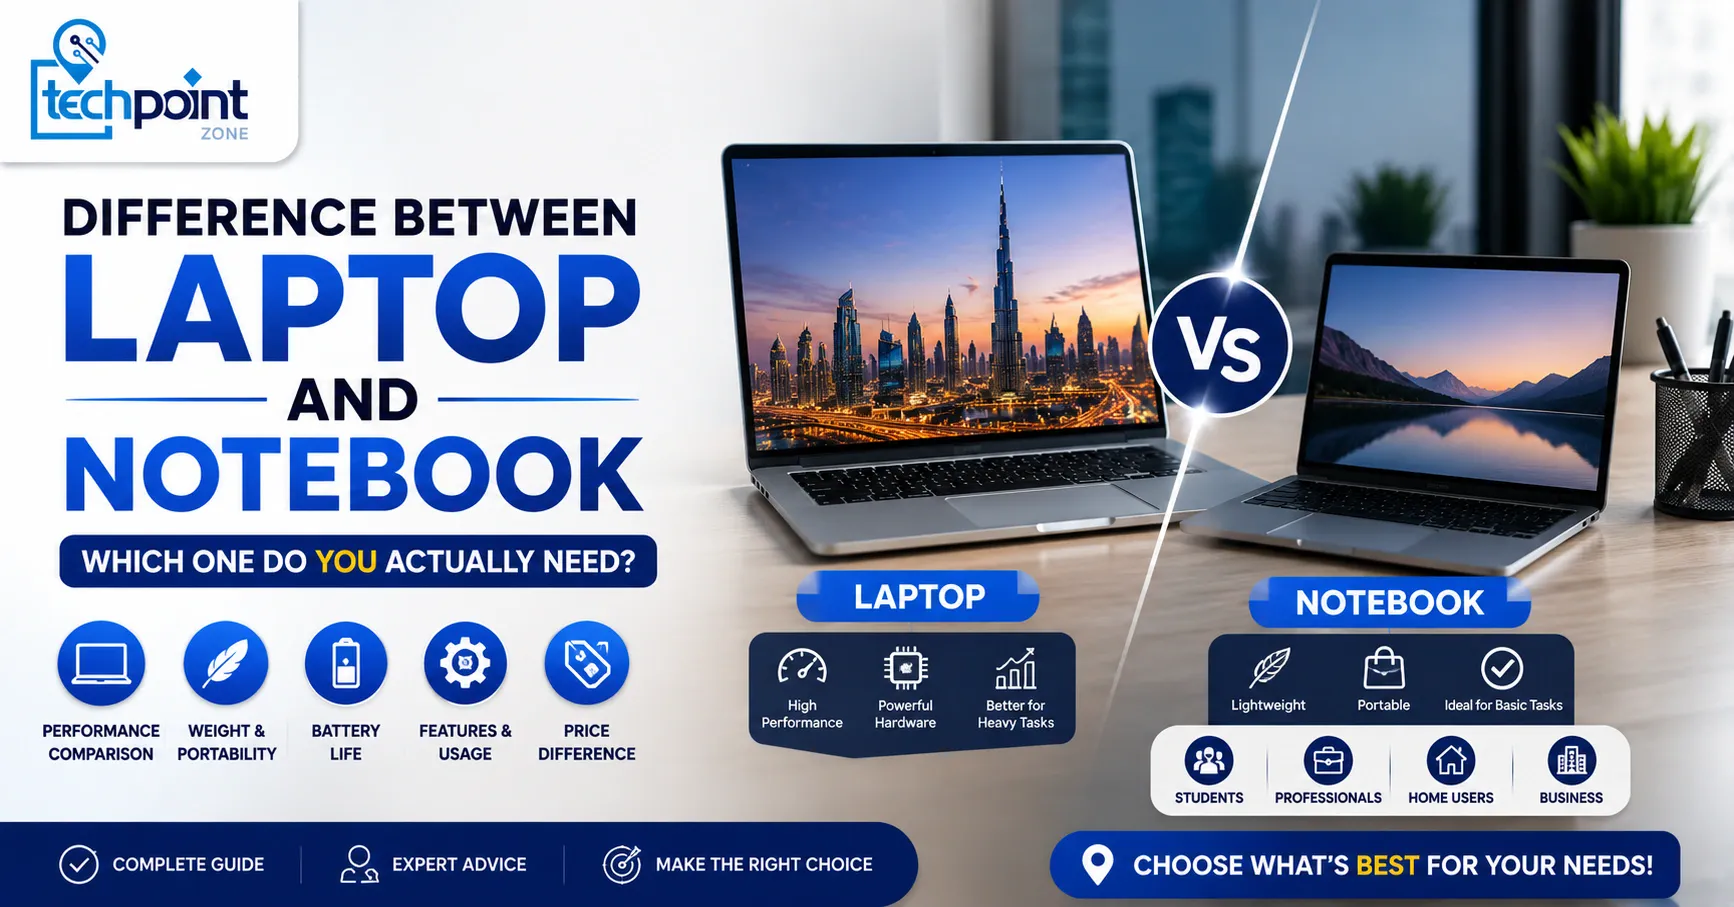
Difference Between Laptop and Notebook – Which One Do You Actually Need?
You are shopping for a new portable computer in the UAE and you keep seeing two words. Laptop and notebook. The shop assistant uses them interchangeably. The websites do too. So is there even a real difference?
There is, and knowing it before you buy can save you money and frustration. In this guide, Tech Point Zone breaks it down simply so you can make the right decision for your needs and budget.
Difference Between Laptop and Notebook
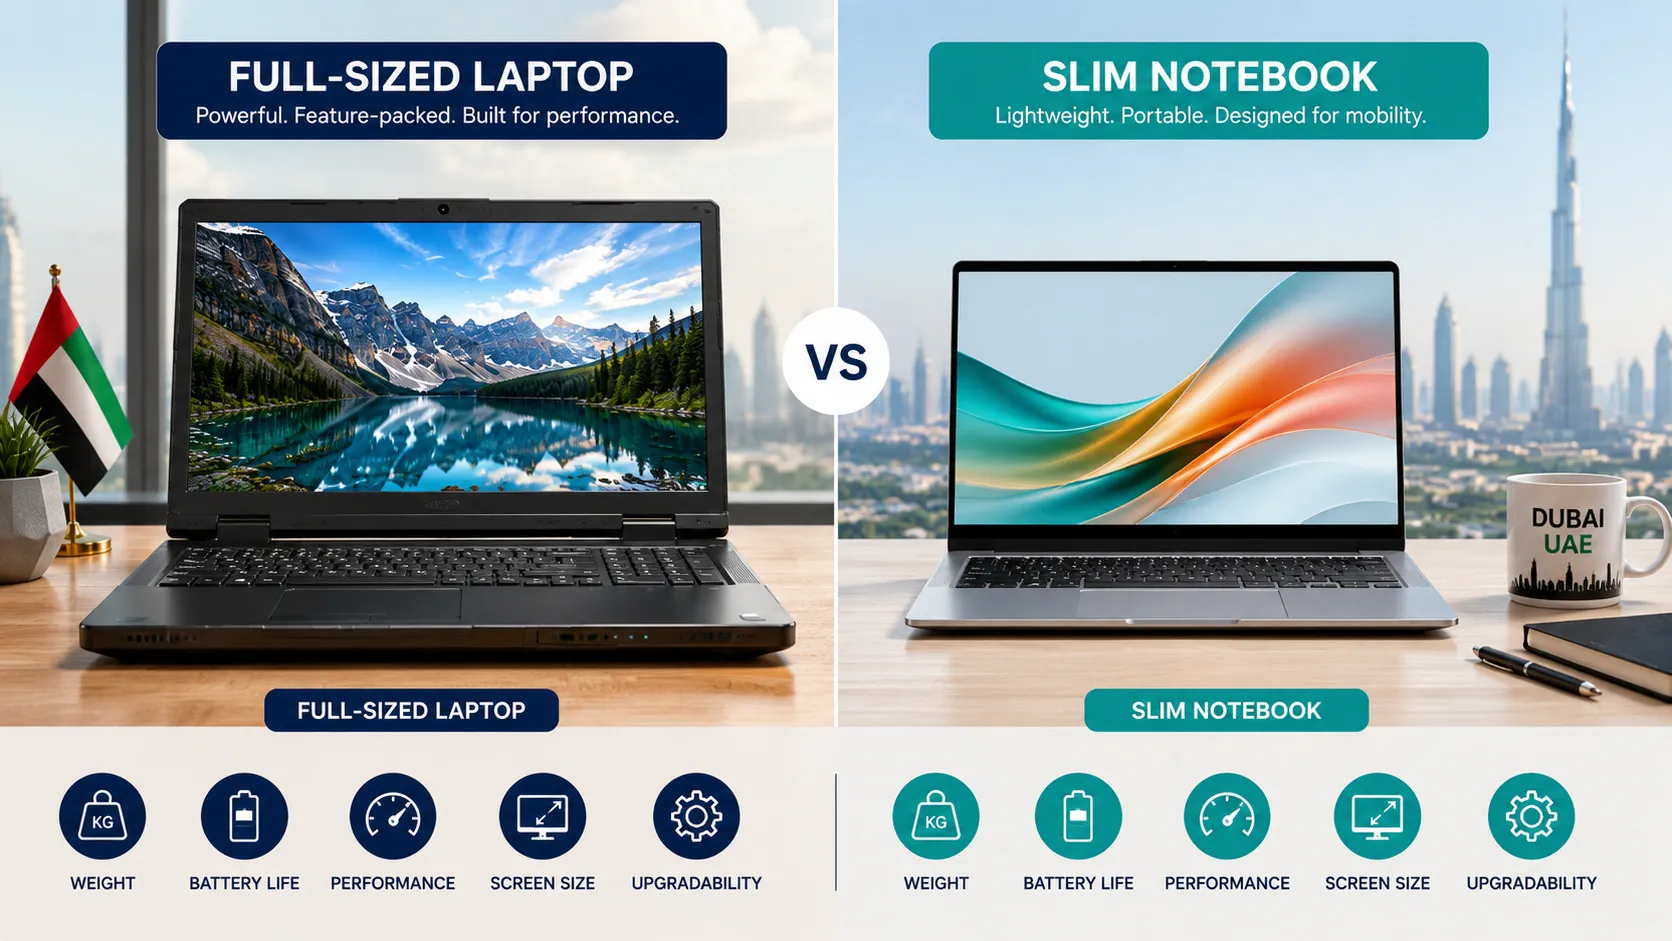
A laptop is a full-sized portable computer built for higher performance, while a notebook is a lighter, slimmer, and more compact version designed for portability and basic computing. The key differences are in screen size, processing power, RAM capacity, storage, battery life, and price.
In practice, the line between the two has blurred. Most manufacturers, including HP, Dell, Lenovo, and ASUS, now use both terms to describe the same category of computing devices. But technically, there are still meaningful differences worth knowing before you spend your dirhams.
Laptop vs Notebook: The Key Differences at a Glance
Here is a quick list of the differences between a laptop and notebook across the most important specs:
| Feature | Laptop | Notebook |
|---|---|---|
| Screen Size | 14 inch – 17 inch | 11 inch – 14 inch |
| Weight | 2 kg – 3.5 kg | 1 kg – 2 kg |
| Performance | High — Intel Core i5/i7/i9, AMD Ryzen | Moderate — Intel Core i3/i5, Intel Evo |
| RAM Capacity | 8 GB – 64 GB | 4 GB – 16 GB |
| Storage | HDD or SSD storage (512 GB – 2 TB) | SSD storage (128 GB – 512 GB) |
| Graphics | Dedicated graphics cards available | Usually integrated graphics |
| Battery Life | 4 – 8 hours | 8 – 15 hours |
| DVD Drive | Sometimes included | Rarely included |
| Price (AED) | AED 2,500 – 10,000+ | AED 1,400 – 4,000 |
| Best For | Power users, gaming, editing | Students, travel, basic tasks |
Is There a Difference Between Laptop and Notebook Today?
Technically, yes, but practically, the difference notebook laptop buyers notice has become very small. In the early 2000s, the distinction was clear. Notebooks were noticeably smaller, lighter, and less powerful than laptops. Today, most notebook computers sold in the UAE, including the HP EliteBook notebook, Dell XPS 13, and Lenovo ThinkPad, match or exceed what older laptops could do.
Microsoft Surface, Apple MacBook, and many Intel Evo laptops sit firmly in notebook territory by size but deliver laptop-level performance. So when someone asks “is there a difference between laptop and notebook?” the honest answer is: the labels have largely merged, but the hardware categories they originally described still exist.
The practical difference comes down to what you need the machine to do. A notebook ultrabook is the right pick for portability. A full-sized laptop wins on performance power.
Laptop vs Notebook Pros and Cons
Laptop Pros and Cons
Pros:
- A laptop gives you more processing power and handles demanding tasks without breaking a sweat.
- Higher performance CPUs like Intel Core processors and AMD Ryzen chips, combined with dedicated graphics cards and higher RAM capacity, make laptops the better choice for gaming, video editing, 3D rendering, and any CPU or GPU-intensive work.
- Screen sizes between 15 and 17 inches make them easier on the eyes for long working sessions. You also get more connectivity options, like USB-A, HDMI, SD card slots, and sometimes even a DVD drive.
Cons:
- Laptops are heavier, usually between 2 and 3.5 kg, which matters when you carry them daily across Dubai or Abu Dhabi.
- Battery life is shorter compared to notebooks, typically 4 to 8 hours under real-world use.
- The higher price point can also be a barrier, especially for students or buyers looking for basic computing on a tight budget.
Notebook Pros and Cons
Pros:
A notebook’s biggest strength is portability. Smaller size, lighter build, and longer battery life make it the go-to portable computer for commuters, students, and frequent travellers. Notebooks are purpose-built for web browsing, document editing, video calls, and everyday computing tasks.
They are quieter, run cooler, and are easier to carry in a bag all day. Many modern notebooks with SSD storage boot up in seconds and handle multitasking smoothly for everyday use.
Cons:
Notebooks struggle with demanding tasks. They typically use integrated graphics rather than dedicated graphics cards, which means gaming, video editing, and heavy multitasking are limited.
GB RAM is usually capped at 8 GB or 16 GB on most models, and you get less SSD storage. Screen sizes between 11 and 13 inches can feel cramped during long work sessions. If your computing needs grow, a notebook may feel limiting within a year or two.
Can a Notebook Do the Same as a Laptop?
For most everyday tasks, yes. A notebook can do the same as a laptop. Web browsing, Microsoft Office, emails, video calls, online learning, and light photo editing all run perfectly fine on a notebook computer. For these computing tasks, a notebook is not just enough; it is often the smarter choice because of its longer battery life and smaller size.
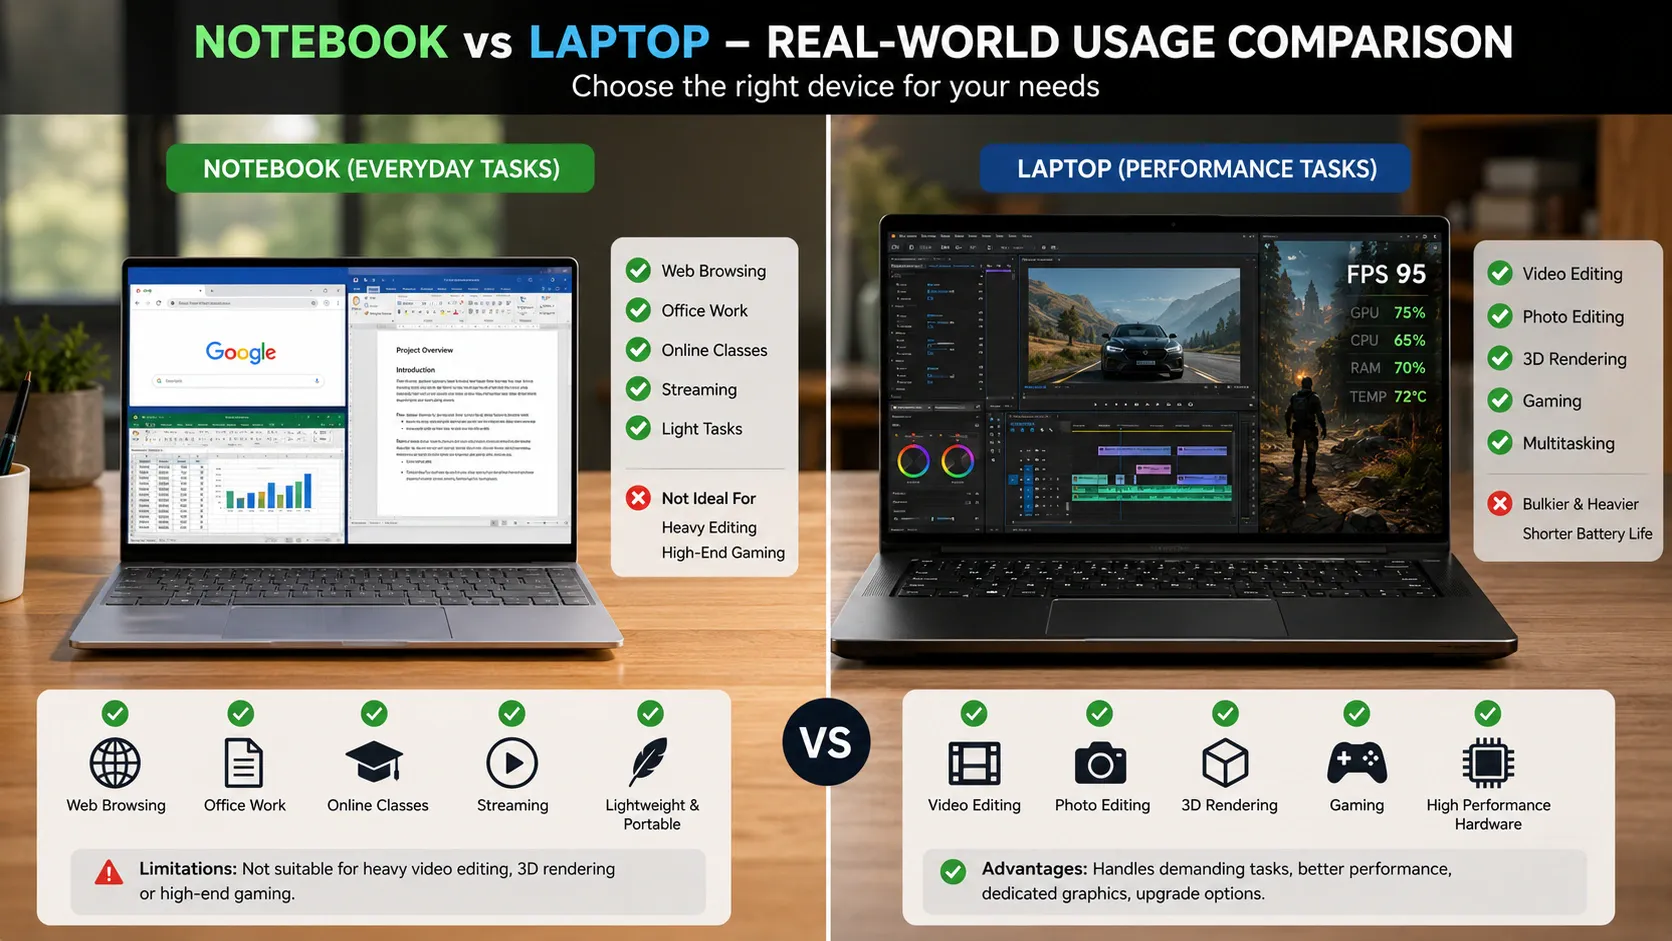
Where a notebook falls short is in performance-heavy workloads. If you need to run editing or gaming software, work with large video files, use GPU-intensive applications, or run multiple heavy programs at the same time, a full laptop with a dedicated GPU and higher processing power will serve you better. A notebook is not built for that level of performance power.
The simple rule: if your work lives in a browser or Microsoft Office, a notebook does everything you need. If you push your machine with demanding tasks, a laptop is a better investment.
Difference Between Laptop and Notebook PC: What About Ultrabooks?
An ultrabook is a premium laptop or notebook that combines the best of both worlds, laptop-level performance in a notebook-style slim, lightweight body. Intel introduced the Ultrabook standard, and today the Intel Evo label certifies laptops that meet strict performance, battery life, and responsiveness benchmarks.
Intel Evo laptops and Intel Evo laptops-certified notebooks like the Dell XPS 13, HP Spectre, and Lenovo ThinkPad X1 Carbon are technically notebook-sized but perform like full laptops. They feature Intel Core processors, fast SSD storage, 8 GB to 16 GB RAM, and long battery life, all in a package under 1.5 kg.
In the UAE market, ultrabooks are increasingly popular among professionals who need performance power without carrying a heavy machine. They sit in the AED 4,000 to 8,000+ range and represent the clearest example of why the difference between laptop and notebook PC has become blurred in modern computing.
Which One Should You Buy in UAE? (By User Type)
Not sure which fits your situation? Here is how to decide:
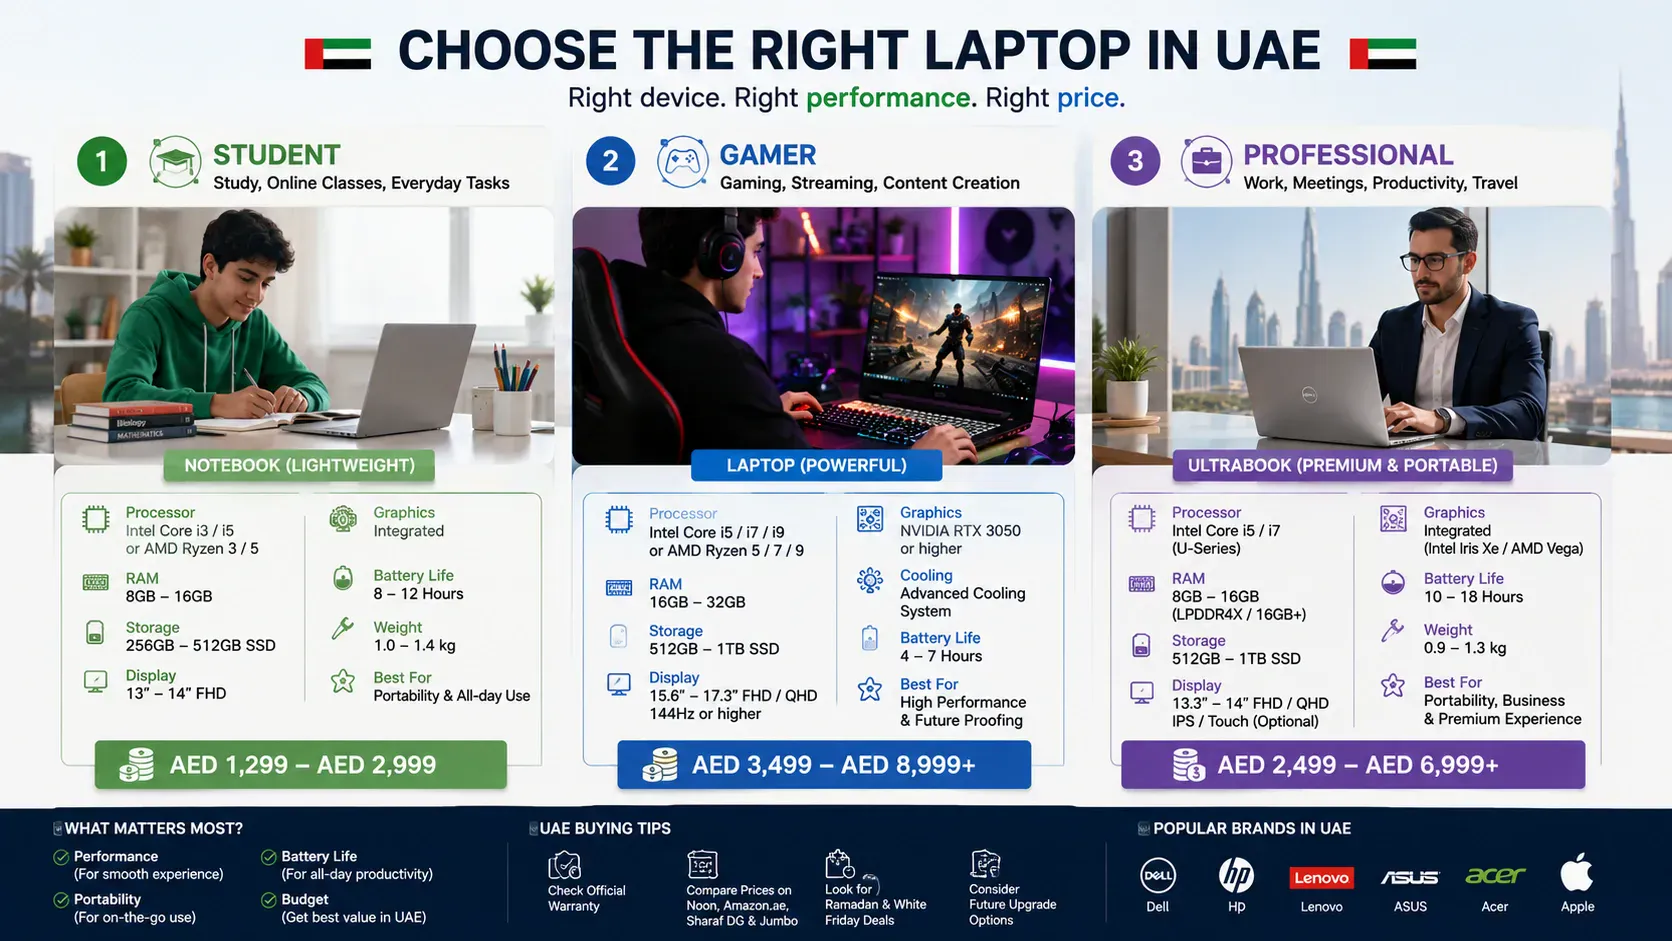
Buy a laptop if:
- You game, edit videos, or work with heavy software
- You use dedicated graphics for design or 3D work
- You work mostly at a desk and carry the machine occasionally
- You need a larger screen size for comfort during long hours
- Your budget is above AED 3,500, and you want performance
Buy a notebook if:
- You use your machine for web browsing, documents, and emails
- You travel or commute daily and need something light
- You are a student who needs something portable and affordable
- Battery life matters more than raw performance
- Your budget is between AED 1,400 and AED 3,000
Buy an ultrabook if:
- You want notebook portability with laptop performance
- You travel for work and need a premium build
- You are willing to spend AED 4,000+ for the best of both
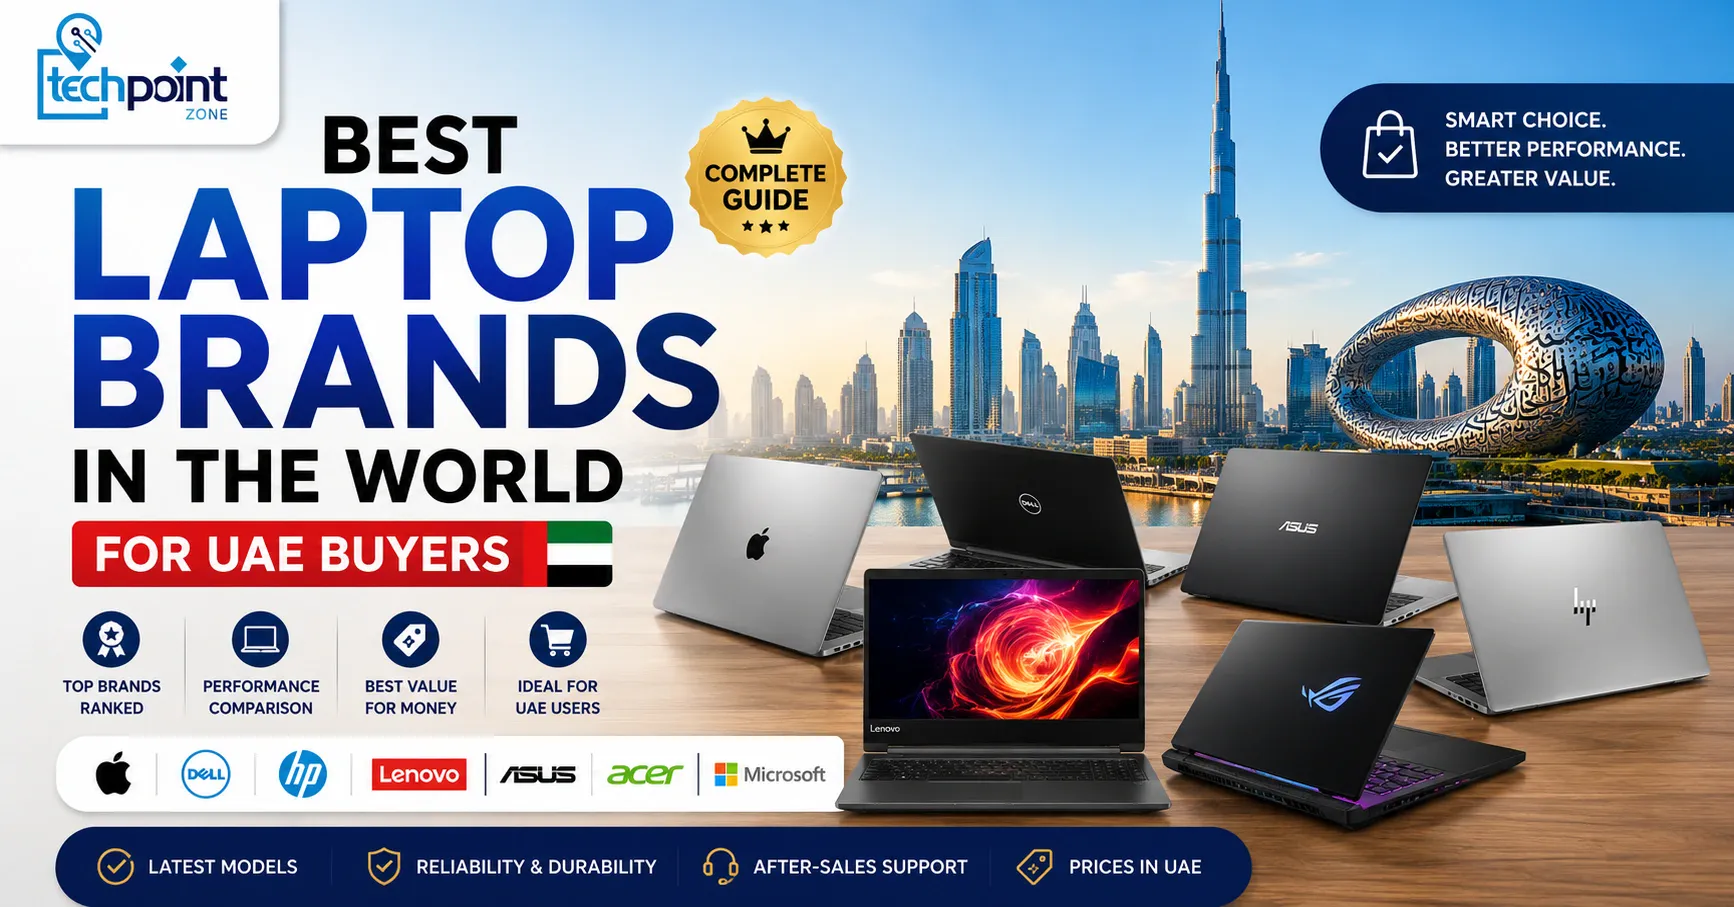
If you are still comparing brands before you decide, our full breakdown of the best laptop brands in the world covers HP, Dell, Lenovo, ASUS, and Apple, with UAE pricing and after-sales support details.
Notebook vs Laptop: What the Brands Actually Sell in UAE
It helps to know what leading brands actually offer in each category when shopping in the UAE:
HP sells both. The HP EliteBook notebook series targets business users needing portability, while the HP Victus and Omen lines are the full-performance laptops aimed at gaming and editing. HP is one of the most widely available brands in the UAE retail.
Lenovo covers the full range, like IdeaPad for budget notebooks, ThinkPad for business-grade notebook computers, and Legion for gaming laptops. Lenovo is the most popular laptop brand globally by market share and a very well supported across the UAE.
Dell offers the XPS lineup as premium ultrabooks (notebook size, laptop power) and Inspiron and Alienware for higher-performance laptops. Dell has strong UAE service coverage.
ASUS positions its ZenBook as its notebook line and ROG and TUF as gaming laptops. The ZenBook is one of the best notebook options available in the UAE for professionals.
Apple MacBooks sit in notebook territory by size but deliver higher performance than most Windows laptops at the same price, a unique case in the laptop notebook category.
Storage, RAM, and Specs: What to Look For
Whether you choose a laptop or notebook, these are the specs that matter most for UAE buyers:
- RAM capacity: 8 GB is the minimum for smooth everyday use in 2026. Go for 16 GB if you multitask or use browser-heavy workflows. Avoid anything with 4 GB RAM, as it will feel slow within months.
- Storage: Always choose SSD storage over a traditional hard disk drive. An SSD makes your machine boot faster, feel more responsive, and handle computing tasks without lag. 256 GB SSD is the minimum; 512 GB SSD is ideal for most users.
- Processor: For notebooks, Intel Core i5 or Intel Evo-certified processors handle all basic computing needs well. For laptops, Intel Core i7 or i9 and AMD Ryzen 5 or 7 give you the performance for demanding tasks.
- Screen size: 13 to 14-inch screen sizes are the sweet spot for portability. 15 to 17-inch screens are better for long work sessions at a desk.
- Battery life: Notebooks typically deliver longer battery life. If you spend long hours away from a power source, common in UAE co-working spaces and university campuses, prioritise battery over specs.
- Dedicated graphics cards: Essential for gaming and video editing. Notebooks with integrated graphics handle everyday tasks fine. Look for NVIDIA RTX series GPUs if you need dedicated graphics.
- If your laptop or notebook starts showing signs of poor battery life after a year or two, check our guide on how to fix laptop battery draining fast, the fixes work on both laptops and notebooks.
What About Touchscreen and 2-in-1 Laptops?
A 2-in-1 is a laptop or notebook with a touchscreen that can fold flat or detach to work as a tablet. Microsoft Surface is the most well-known example. These devices add versatility, you can use them as a notebook for work and flip them into tablet mode for reading or drawing.
2-in-1s are popular in the UAE among students and creative professionals.
They sit in the notebook size range but offer different types of use that a regular laptop or notebook cannot match. The trade-off is usually a higher price and slightly lower performance compared to a dedicated laptop at the same AED price point.
How to Take Care of Your Laptop or Notebook
Once you have chosen between a laptop and notebook, keeping it in good condition matters, especially in the UAE, where heat and dust can accelerate wear.
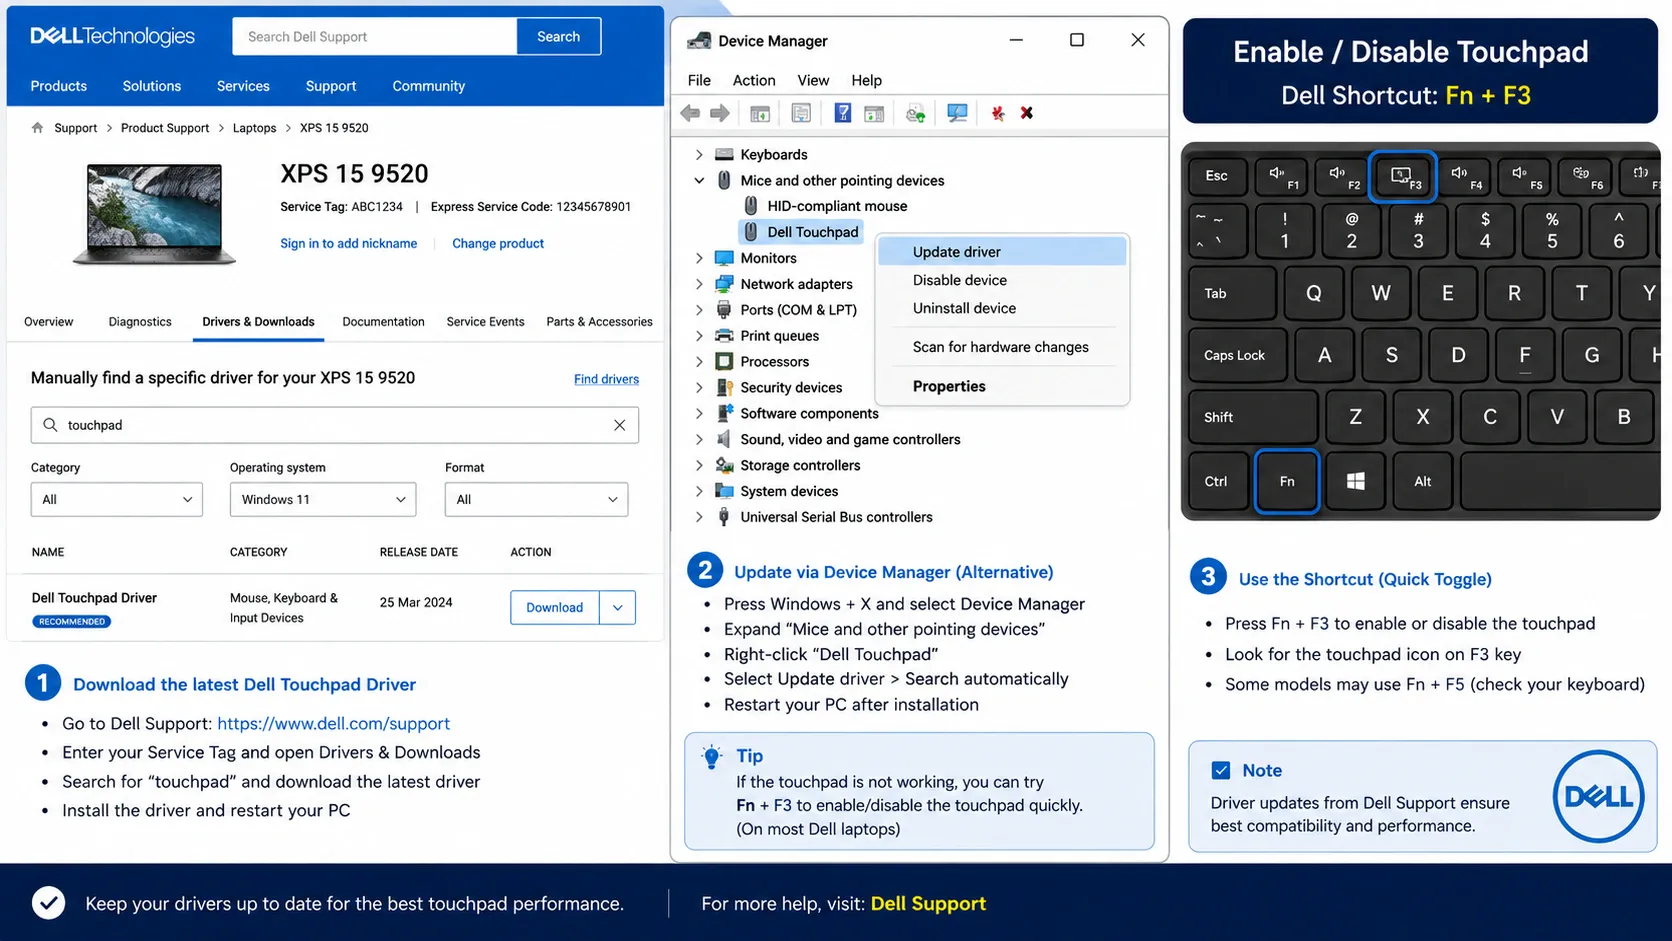
Keep the vents clear and the surface clean. If you run into issues, our guides cover the most common problems: how to fix a laptop touchpad not working is one of the most searched fixes for both laptops and notebooks, and if you ever need to start fresh, how to reformat a laptop walks you through the whole process safely without losing your files.
FAQ
What is better, a laptop or notebook?
It depends on what you need. A laptop is better for performance-heavy tasks like gaming, video editing, and demanding software. A notebook is better for portability, battery life, and everyday use like web browsing, documents, and study. For most UAE buyers, a notebook covers 90% of daily computing needs at a lower price.
Are notebooks and laptops the same?
Today, the terms are used interchangeably by most manufacturers. Technically, a notebook is a smaller and lighter version of a laptop, but the line has blurred significantly. Most modern notebook computers deliver laptop-level performance in a compact form factor.
What is the disadvantage of a notebook?
The main disadvantages are limited processing power, no dedicated graphics cards on most models, smaller screen sizes, and less RAM capacity compared to full laptops. Notebooks are not ideal for gaming, heavy video editing, or demanding tasks that require higher performance.
What is a notebook used for?
A notebook is used for web browsing, emails, Microsoft Office tasks, video calls, online learning, light photo editing, and everyday computing. It is ideal for students, commuters, remote workers, and anyone who prioritises portability over raw power.
Can a laptop be called a notebook?
Yes. In modern usage, laptop and notebook are often used interchangeably by manufacturers, retailers, and consumers. Technically, a notebook refers to a lighter and more compact portable computer, but the distinction has largely disappeared in everyday language and product listings.
Conclusion
The difference between a laptop and notebook comes down to size, power, and purpose. Laptops handle heavier workloads, come with larger screen sizes, and offer more connectivity options and dedicated graphics cards, at the cost of weight and battery life.
Notebooks are slimmer, lighter portable computers built for longer battery life and everyday computing tasks, at a lower price. For most UAE buyers doing web browsing, study, or office work, a notebook is more than enough.
If you game, edit video, or need maximum processing power, a full laptop is the better call. At Tech Point Zone, we stock both, and our team helps you find the right one for your exact needs and budget.